Step 1.
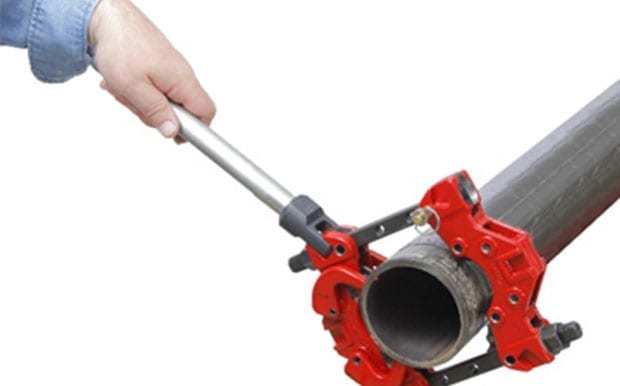
Measure and cut pipe for CRISM fitting installation. Ensure that the pipe end is as square as possible.
Cut pipe to length with allowances for fitting as per the cutting guidelines table.
Step 2.
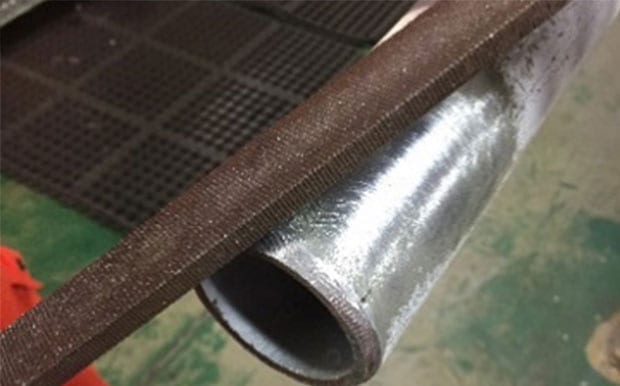
Deburr and create lead chamfer on pipework (minimum 4 mm at 45 degrees) to prevent O-rings from picking up on installation.
Step 3.
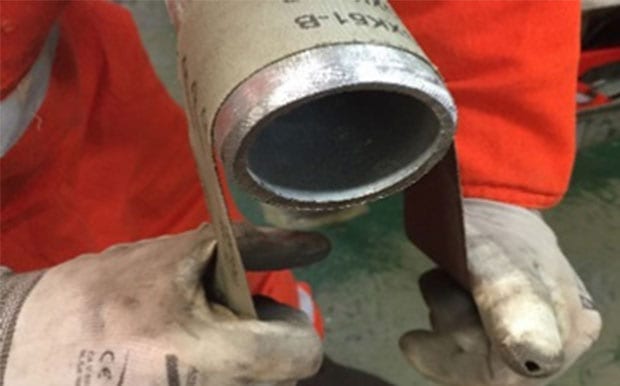
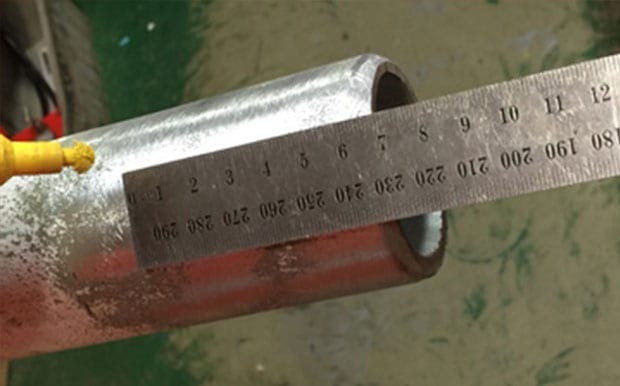
Measure and mark the sealing area (As per pipe insertion depth in table below) and prepare sealing surface on this section of pipe to Australian Standard 2536-1982. (Surface texture standards).
The surface roughness value should not to exceed 32 micro-inches (32 rms), which should be achievable with a P180 or finer emery paper.
Step 4.
Double check and re-mark pipe for complete insertion distance of CRISM.
Step 5.
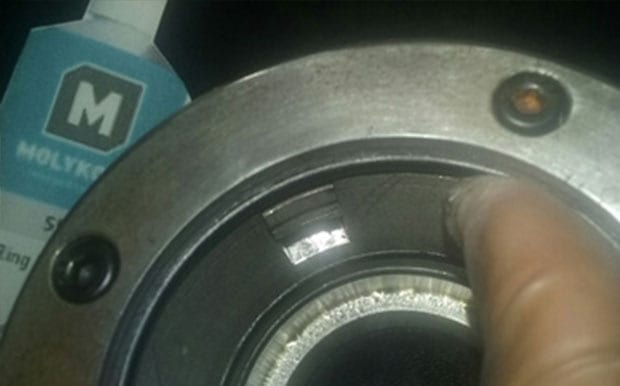
Generously lubricate all sealing rings with suitable O-ring grease.
Step 6.
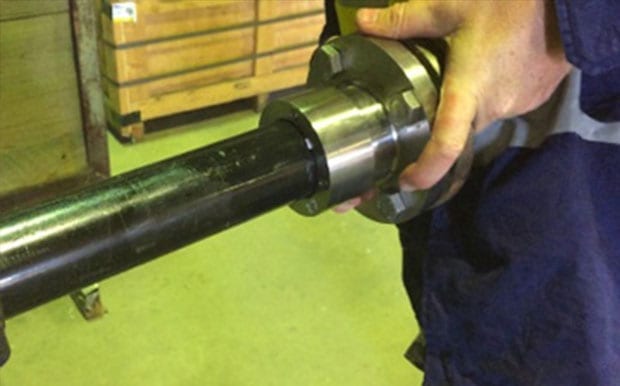
Align CRISM fitting with the pipe end and using a steady even pressure push the CRISM fitting until it reaches the installation mechanical stop (Mark that you put on in step 4). CRISM fitting is now inserted, it can be rotated in either direction prior to loading to allow for alignment.
Note: The fitting is expected to release a small amount when pressure is applied, this is just the Grips getting set.